search

10.31.2012

the pumpkin patch

This last weekend we went to the pumpkin patch. I'd been looking forward to that day for a long time. We went with our family. The weather was beautiful and the brown and green field was dotted with orange pumpkins. We went through the maze and wandered around until we found the end. And we toted the wagons behind us filling them with pumpkins of all different shapes and sizes.

Here's some pictures and a video from the afternoon....

10.26.2012

apple coasters

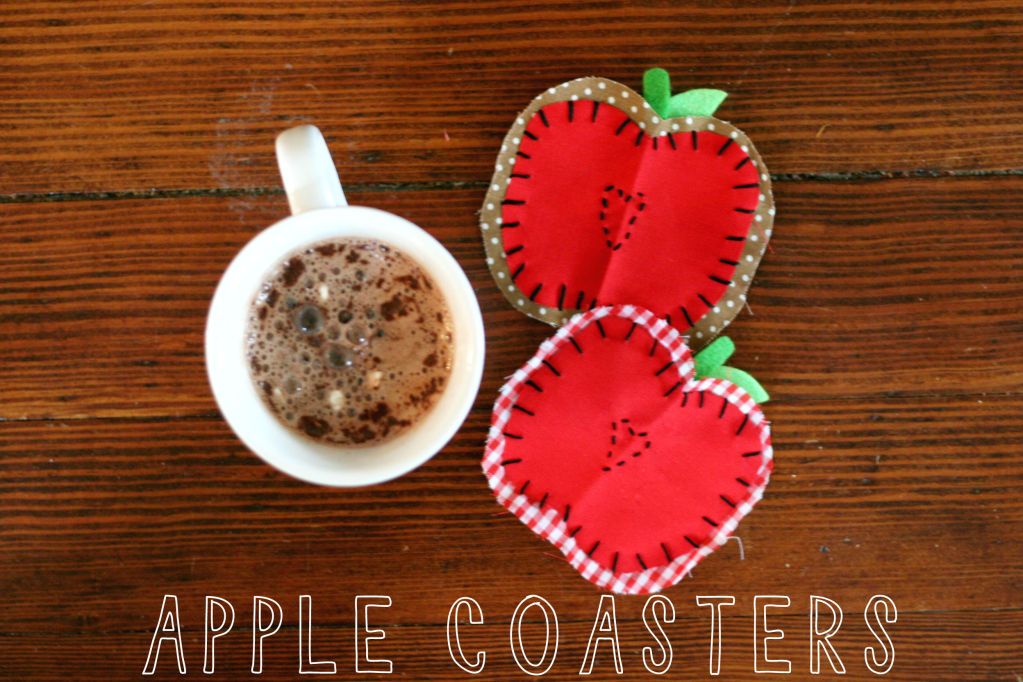
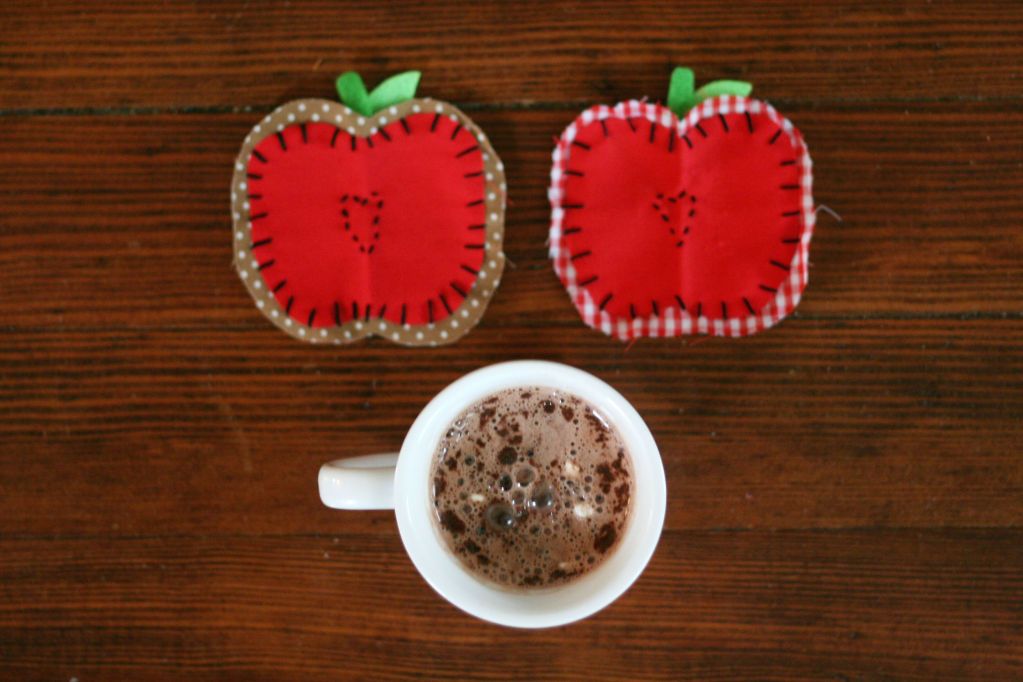
Today I thought I'd share this cute little fall craft with you. They're fun to make (and easy too!). 
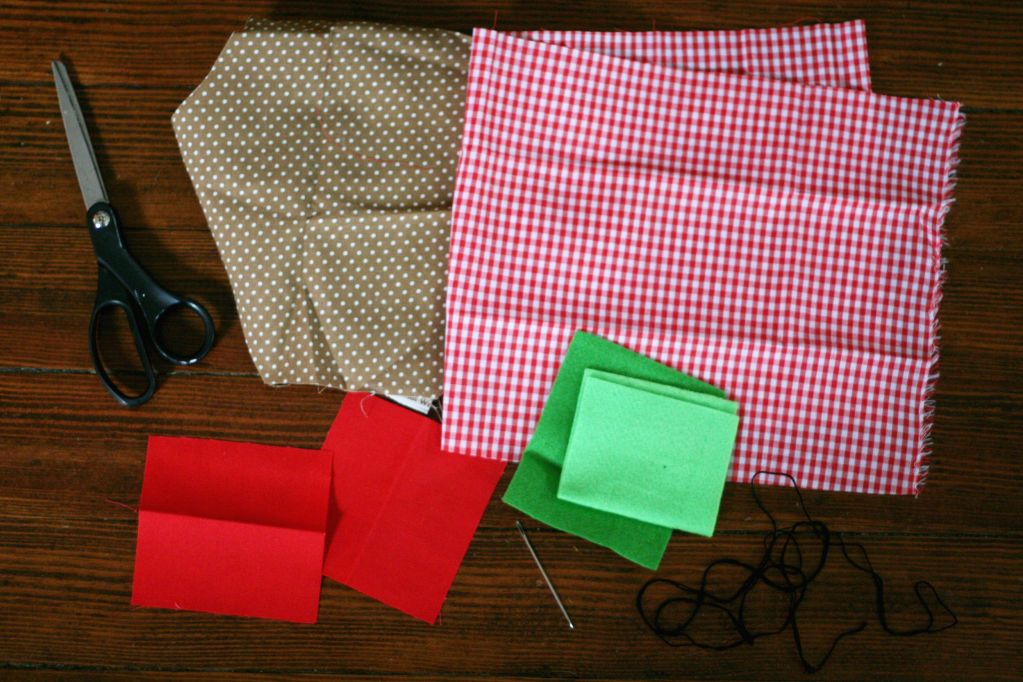
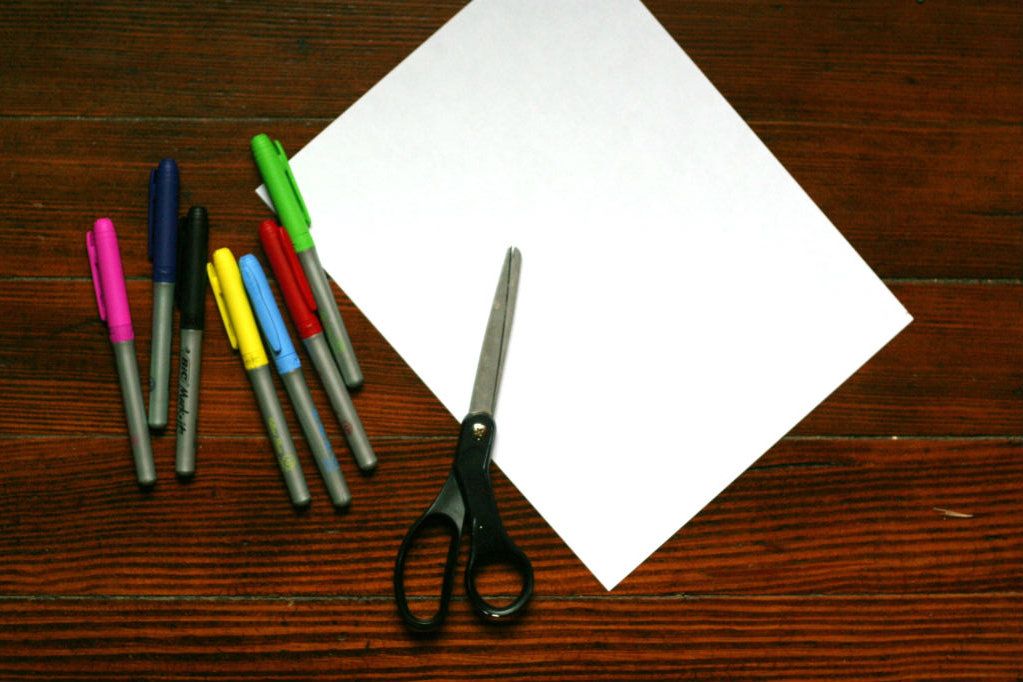
You will need: Two kinds of fabric, two colors of felt, a needle, scissors, and embroidery thread.

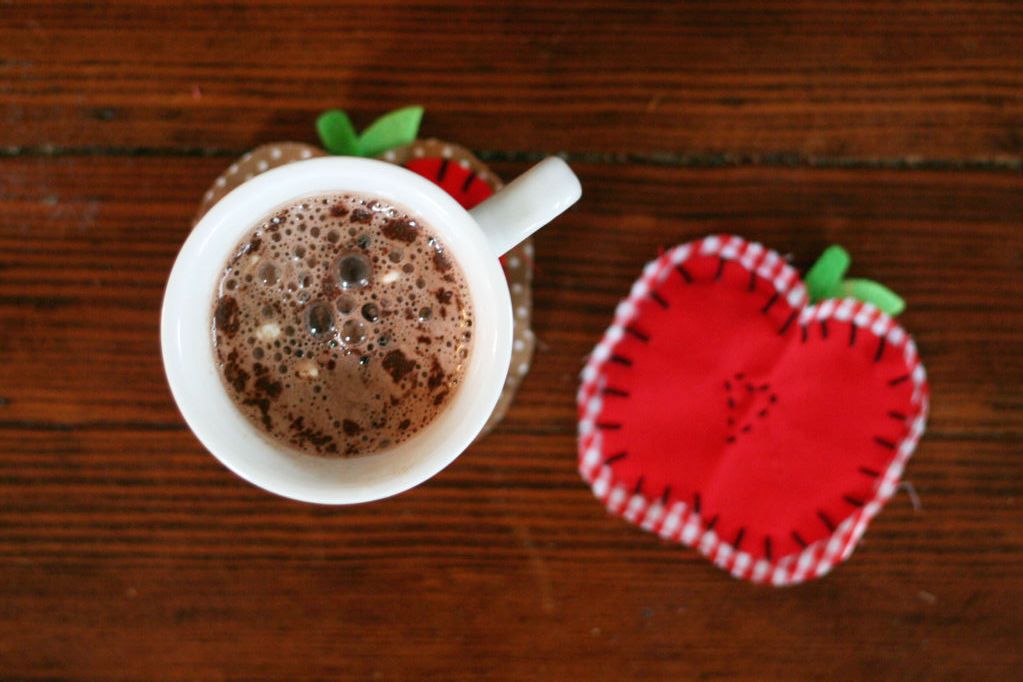
Note: These work fine for mugs of hot chocolate. But, if you were going to use them for drinks with ice in them, I would suggest putting a layer of batting between the middle and the boarder.
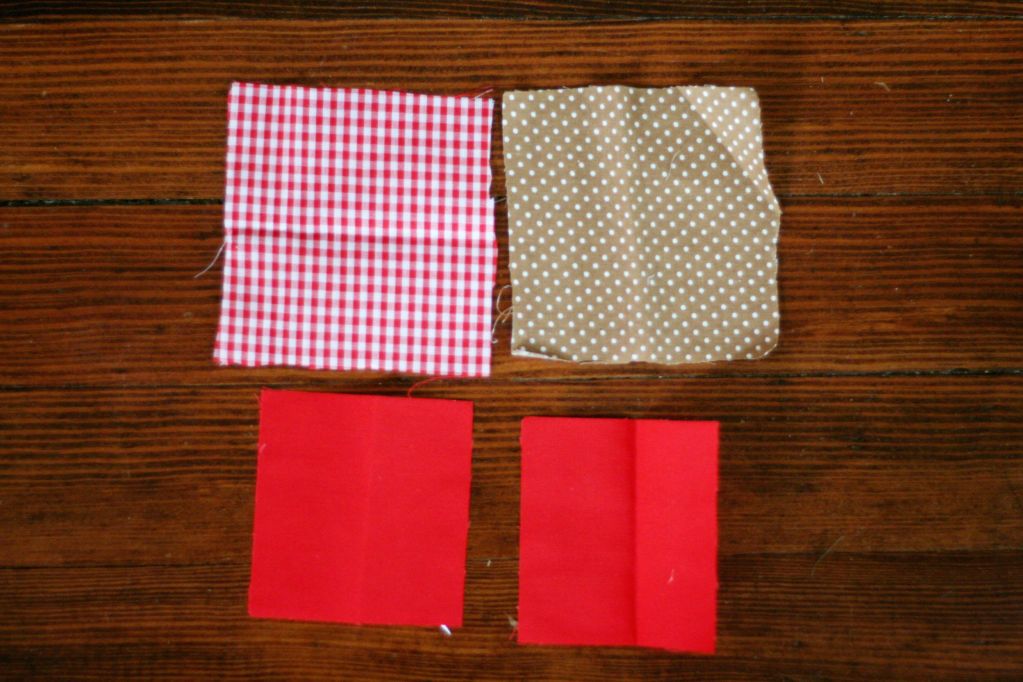
Step one:  Cut a 5x5 inch square of the fabric you chose to be the middle of the apple (I used a little heavier fabric for this part). Then cute a 6x6 inch square of the fabric you chose to be the boarder around the apple.
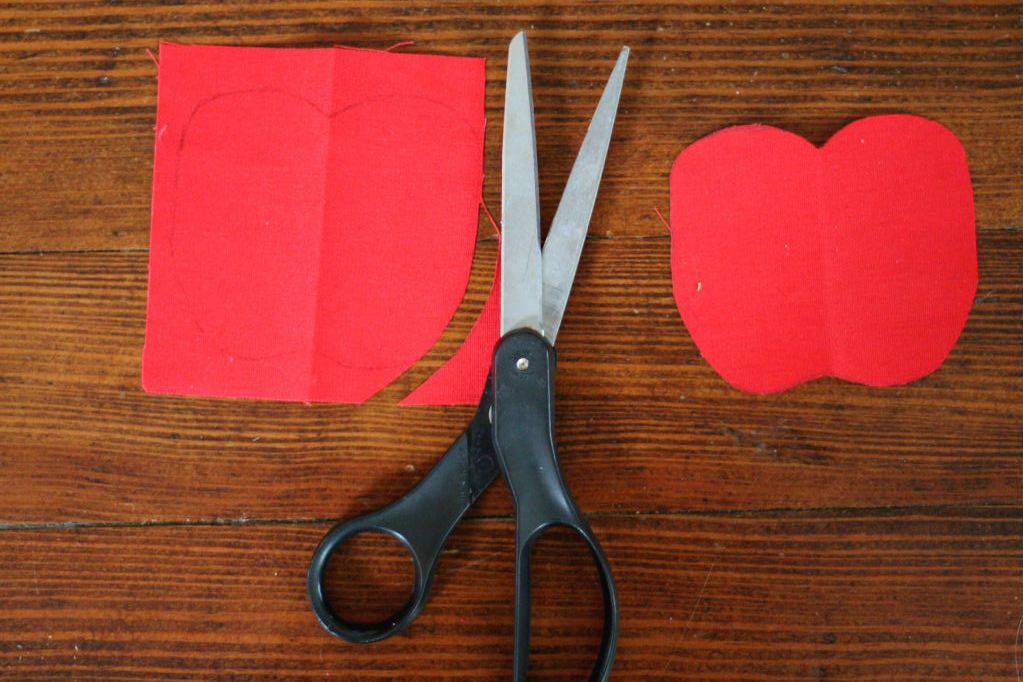
Step two:  Cut an out an apple shape from the 5x5 inch piece of fabric. I used this template, then re-sized it to fit on the fabric square.
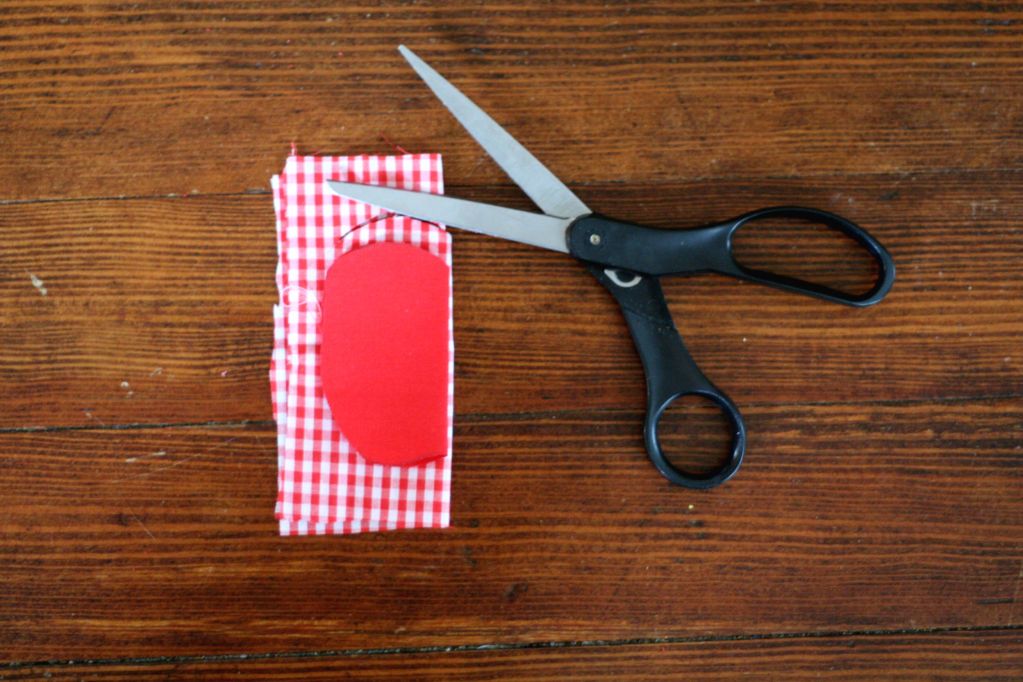
Step three: Cut a slightly bigger apple shape from the 6x6 piece of fabric. *Hint: Fold the 6x6 fabric square in half, then fold the apple shape in half, that you previously cut. Lay it on top of the fabric square, then cut out from it (as shown in the picture above).
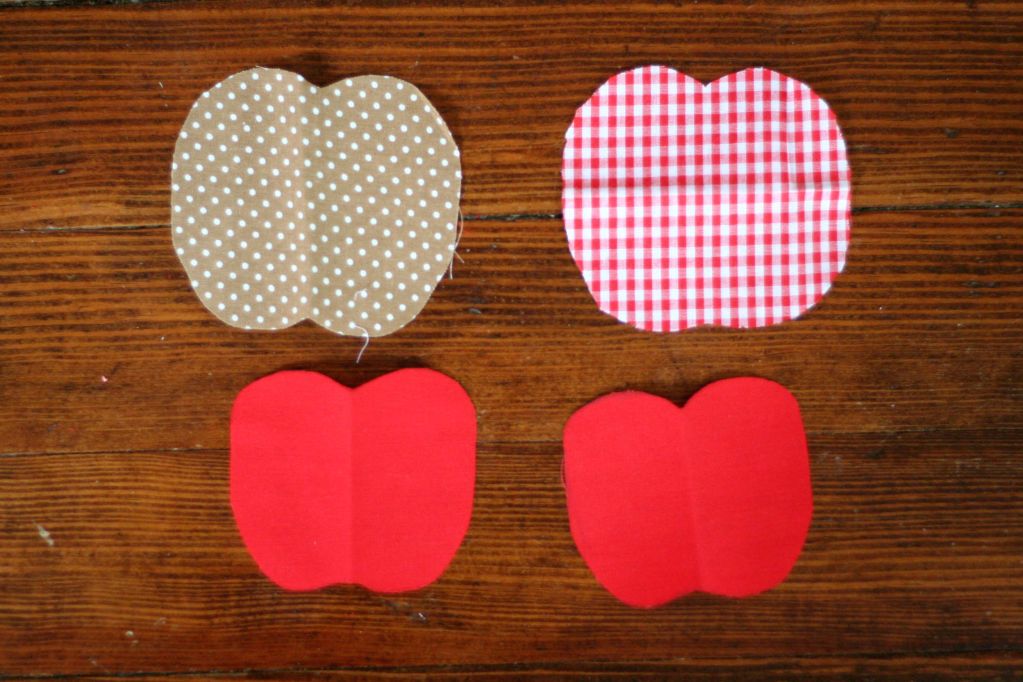
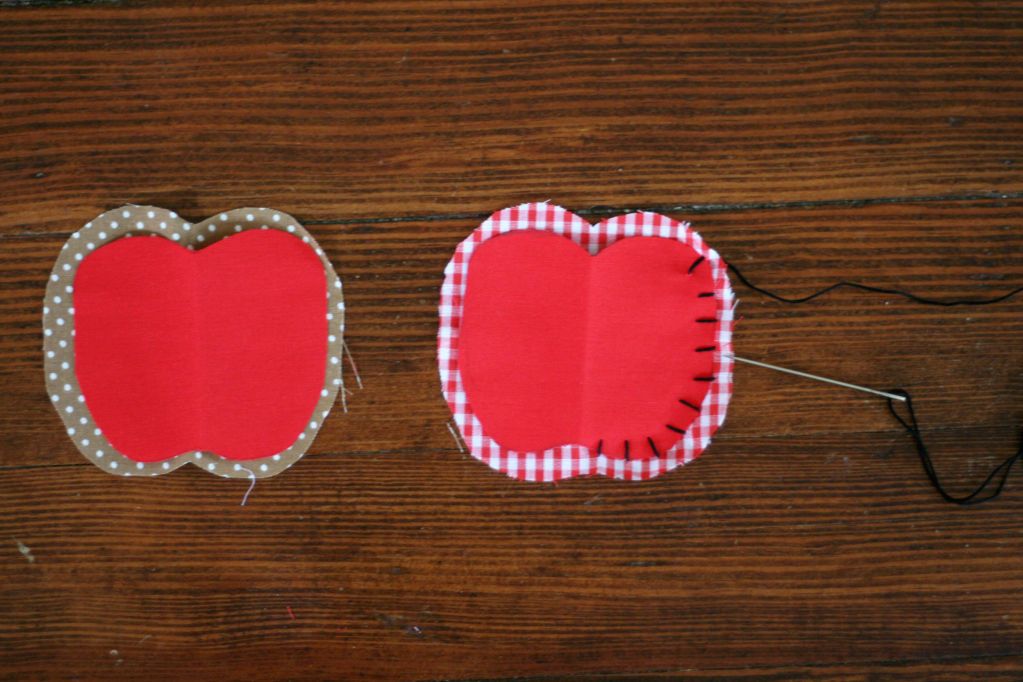
Step four: Take the smaller apple shape and lay it on top of the bigger one, so that just a boarder shows.
Step five: Thread your needle with embroidery thread, tie a knot at the end. Then stitch around the edges of smaller apple, going through both layers of fabric.
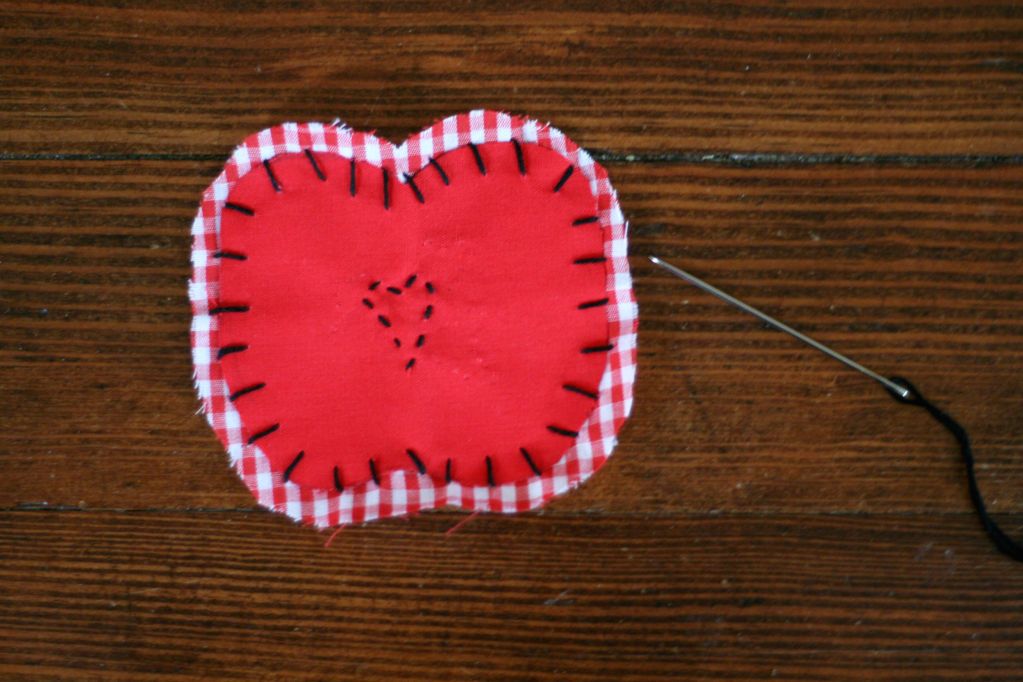
Step six: Stitch in the middle of the coaster. I attempted to make a little heart in the middle, but you could do lots of different things.
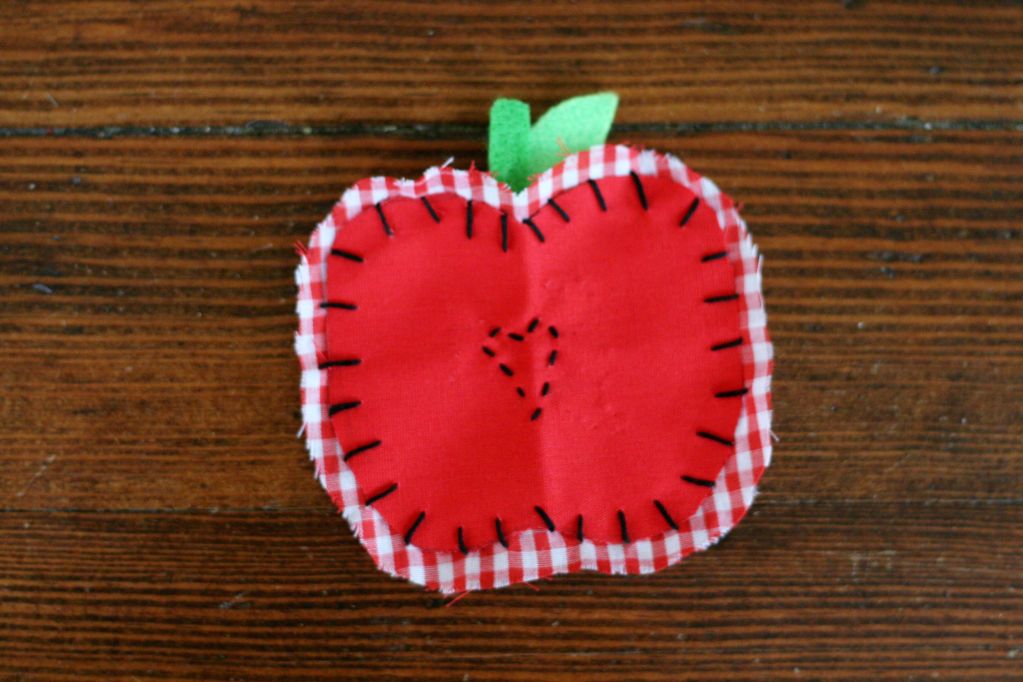
Step seven:  Cut a stem and a leaf from the felt, and stitch them to the back of the coaster.

Happy Friday!

10.24.2012

planting mums

Mums are another thing that are fall-ish. Mom picked some up at the end of  last week and I planted them on Monday. It was the first time I had planted flowers by myself, semi-independently. The new soil was warm and chocolaty-brown. The pink/purple mums were bright and the yellow ones were vivid. It was fun. Now I just have to remember to water them....:)
Do you plant fall flowers?

10.12.2012

diy photo filters

Yesterday I had fun playing around with these photo filters that I made. They add some interest to your photo. Of course I wouldn't use them all the time, but they were fun to experiment with. And they're super easy to make, so I put together a tutorial for you all in case you wanted to try some of your own.
You will need: Permanent markers, scissors, and white paper.

Step one: Cut a square of paper.
Step two:  Using your permanent markers, color the middle of the paper.
Step three: Use your scissors to cut a shape in the middle of the colored area. Make sure there is still plenty of color around the outside of the shape.
Step four: Find what you would like to photograph.
Step five: Get your photo filter out. Hold it up to your lens, so that through the view finder all you can see is some of the color from it, focus your camera on the subject (through the hole in the paper), then take the picture.
It takes some trial and error to know where to put the paper, how much to show, etc. But one thing I like about these is that you can put in as much or as little color in as you want. Here's some more photos I took using the filters:
Aren't they neat?

Happy Friday!