search

12.29.2012

the christmas tree, christmas, and the end of the year.

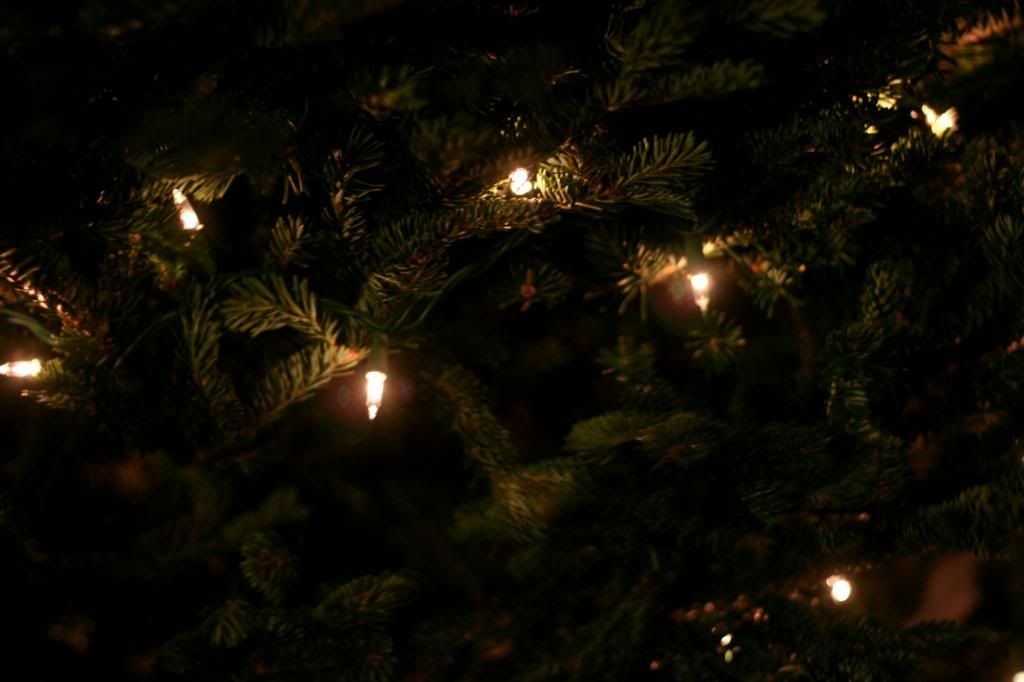
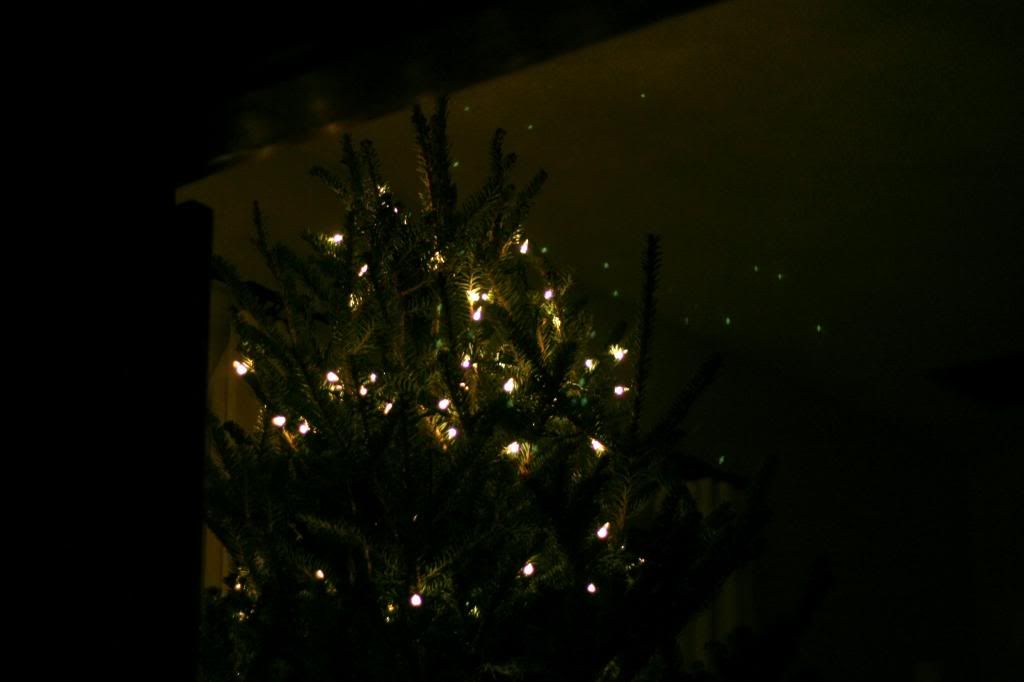
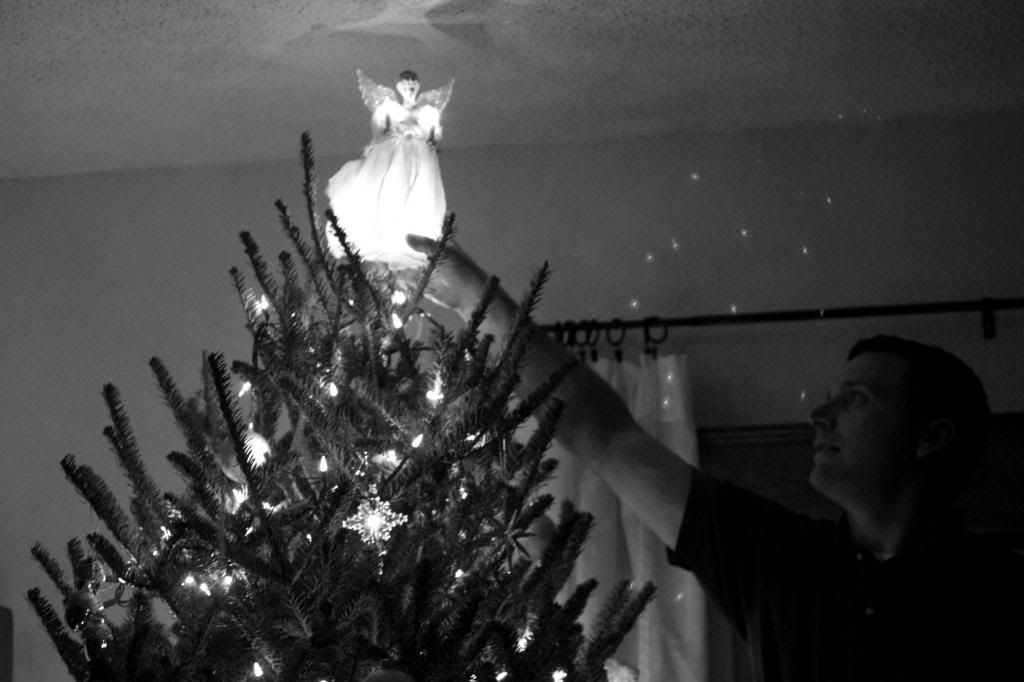
Our Christmas tree this year was a fraiser fir from Home Depot. It was eight and a half feet tall and was purchased, when it was still tolerable outside, at the beginning of December. One Sunday, after church, we loaded up and headed to get the tree. We picked it out and strapped it to the top of the van, took it home, trimmed it, and set in the stand. Then we tried to get the Christmas music station on Pandora to work as we pulled out the boxes of Christmas decorations. When it was finished, decorated and sparkling, we waited in a flurry of getting things done, for Christmas day.
After going to the Christmas Eve candlelight service and having dinner with family on the 24th, Christmas day dawned. Addy and I woke up at seven o'clock am, in unbelief that we had slept in that long. We did the traditional rush downstairs, look at the glittering sight before us, and rush back upstairs to wake Mom and Dad. After opening presents and eating waffles and ham for breakfast, the rest of the morning was spent painting, reading, playing on the Wii, and watching the movie Little Women. In the afternoon, we headed to grandparents' houses to visit family and eat dinner.

That night I crawled into bed, thinking how fast Christmas day goes.
And now, here it is. December 29th. The end of the year. It's kind of a funny thing, how fast the year goes by -- yet how slow some days, weeks, and months seem to pass. Twenty twelve was full to the top. I'm looking forward to 2013.

Happy New Year!

12.20.2012

the change of seasons

Fall pictures taken on November 14, 2012. Winter pictures taken on December 20, 2012.

It seems to me that it's never truly winter until the first snow. Before that I hold mercilessly onto any shred of autumn I can grab. Though I know winter is a good things coming (and it's not as if I don't like winter), I still want those crisp, much-anticipated days of fall to remain. I want to carry with me those warm hues of plumb, orange, deep red, mustard yellow, and chocolate brown.

But once the snow falls, or I simply wake up to a world of white, I truly feel that now I can let go of autumn; because now winter, in all her glory, is here. And now I'm ready for the bright reds, the crisp greens, and the bright whites; the days of snow crunching underfoot, faces chilled from the cold, and being bundled up in layers of warm clothes.

It snowed today. Welcome winter. 

12.18.2012

a homemade christmas: gift idea, homemade rubber stamps

Today I am very excited to share with you this tutorial for homemade rubber stamps! I'd been wanting to try these for awhile. As it turns out, they're super simple to make. (And they would be great to give as Christmas gifts!) Here's how....
You will need:  A rubber eraser, an x-acto knife (not what I used, but what I would recommend), and a pen.
Step 1: Draw a design on the eraser (the side that doesn't have the logo on it).
Step 2: Cut around the design, making nice, smooth cuts.
Step 3: Carve out the design so that it's raised from the rest of the eraser. I found the easiest way to do this is by going through the side of the eraser.
You're done!

Here are some examples of what the stamps look like:
feathers
christmas trees
hearts


12.13.2012

a homemade christmas: gift idea, diy t-shirt pillow

I'm still working on making and buying Christmas gifts. And, just in case you are too, I put together a tutorial for you on how to make this simple little pillow (out of an old t-shirt) that be could given as a Christmas gift.
You will need: A t-shirt, stuffing, a needle, thread, a rotary cutter, a ruler, and (not pictured, but needed) straight pins, scissors, and a cutting mat.

*Note: If you don't have a rotary cutter, you could also use a pencil to trace the line and scissors to cut along it.
Step 1: Cut straight across the middle of the shirt, under the arm holes.

Step 2: Cut straight across the bottom of the shirt, cutting off the hem.
Step 3: Turn the shirt inside out.

Step 4: Using the straight pins, pin together both layers of the shirt at the top and bottom.
Step 5: Sew along the top and bottom of the fabric, removing pins as you go. (I used a sewing machine and a 5/8 in. seam allowance.) Make sure to leave an opening at the end. But, if you forget (like I did), simply rip out the stitches to make an opening large enough to turn the fabric right side out and put the stuffing in.

Step 6: Turn the fabric right side out.

Step 7: Put stuffing in.
Step 8: Once pillow is stuffed, thread your needle and sew the opening shut. When finished, trim string. You're done!

12.11.2012

a homemade christmas: christmas garlands three ways

Right now I have four garlands in my room. They seem to be my favorites. So, today I'm going to show you how to make three simple festive Christmas garlands.

Pom-pom garland
You will need:  Yarn, a pom-pom maker, needles, and scissors.
Step 1: Take both of the hooks from one side of the pom-pom maker and wrap yarn around them. The more layesr you do, the fuller the pom-pom. Put the hooks back and trim the yarn.

Step 2: Repeat step 1 on the other side.
Step 3: After both sides are covered, use your scissors to cut the yarn down the middle of both sides.

Step 4: Tie a piece of yarn, very tightly, in the middle of the pom-pom maker.
Step 5: Remove the pom-pom and trim any strings that are too long.
Step 6: Thread your needle with yarn, put it under the string you tied in the middle (in step 3). String all pom-poms on to the yarn. When finished, trim yarn. You're done!

Circle paper snowflake garland
You will need: Paper, a pencil, scissors, tape, string, and something round to trace (I used a CD).
Step 1: Trace a circle onto a sheet of paper and cut it out.

Step 2: Fold that circle in half. Then, fold that half in half.
Step 3: Cut shapes around the edges of the folded circle. Be careful not to cut all of the folds.
Step 4: Unfold the snowflake. Repeat steps 1-4 until you have the desired amount of snowflakes.
Step 5: Tape snowflakes onto the string. You're done!

Pinecone garland
You will need: A hot glue gun, scissors, string, and pinecones.
Step 1: Attach pinecones to string by putting a spot of hot glue on the top of the pinecone and gluing the string on. Hold the pinecone until the glue sets up. Continue to do this until you have the desired amount of pinecones on the garland.

Step 2: When finished, trim string. You're done!