search

Showing posts with label tutorials. Show all posts

12.20.2013

a homemade christmas

With only five days til Christmas (whatttt?!), I thought I'd share with you the crafts from the A Homemade Christmas series I did last year. Just a few festive crafts that can be done with the supplies you have lying around....
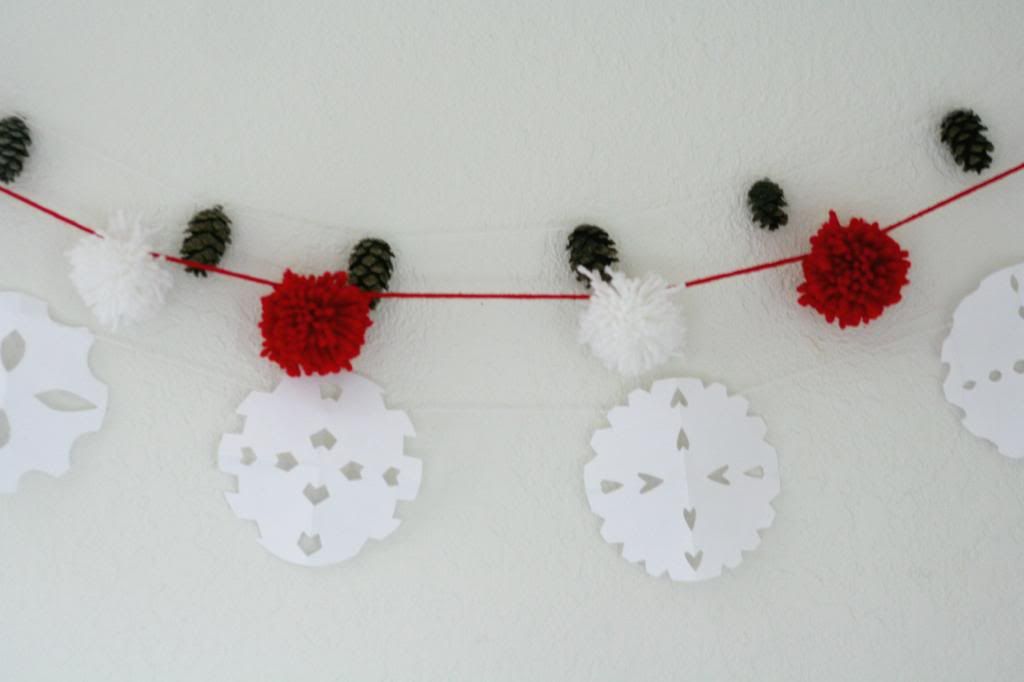
Learn how to make three Christmas garlands!
Make your own rubber stamps out of erasers! Use them for a gift, to decorate your own wrapping paper, or on some cute little Christmas present tags.
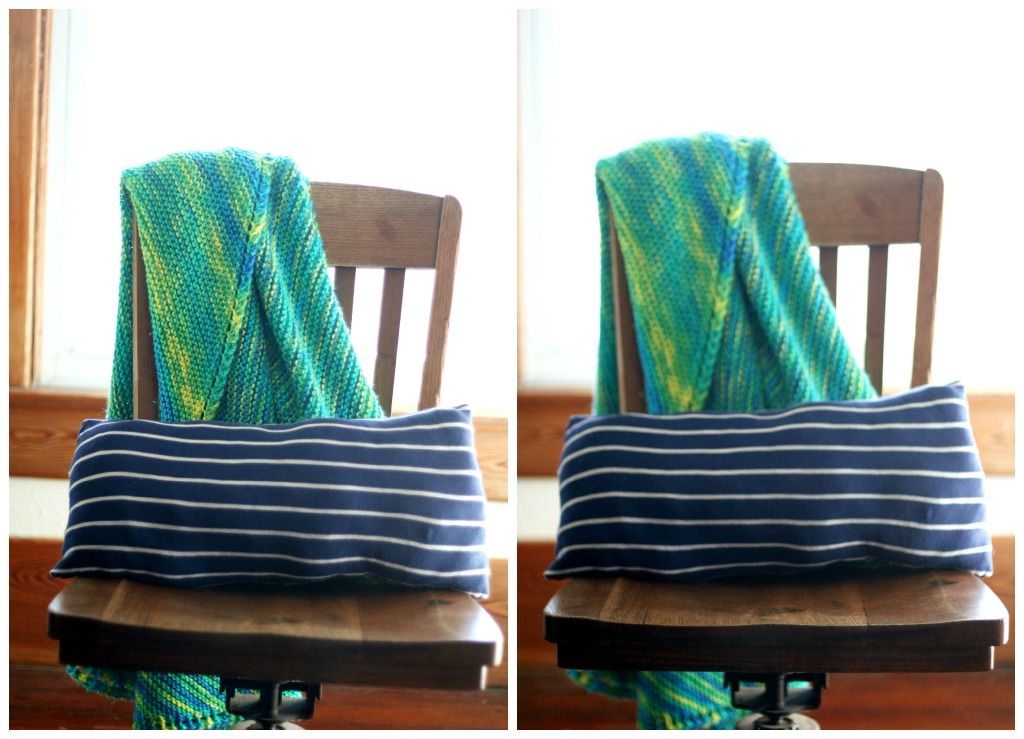
Make a pillow out of an old t-shirt!
Make a wreath out of Christmas tree trimmings!
Click here for tutorial
Here's three step-by-step Christmas card tutorials!
Hope you're all having a great Christmas season so far. xoxo.

3.15.2013

denim & lace | tutorial & outift

Yesterday it was 72 degrees outside and today it's supposed to be somewhere around 80 degrees. Though this spring/summer-like weather may not be here for good (yet), I rolled up my jeans for the first time yesterday and slept with the window open last night. 

Also, yesterday I refashioned this denim shirt I got at the thrift store, for 25 cents. It was pretty simple and makes the shirt look more spring-y. I put a little tutorial together so you could try it too.... (Go here to see a before picture.)
You will need: A shirt, two patches of lace (I used a lace shirt), scissors, straight pins, a needle and thread.

Note: Getting into this project, I started to think that maybe using the sewing machine would have been a good idea, making it go a little more quickly. But, a needle and thread worked just fine, taking a little more time.

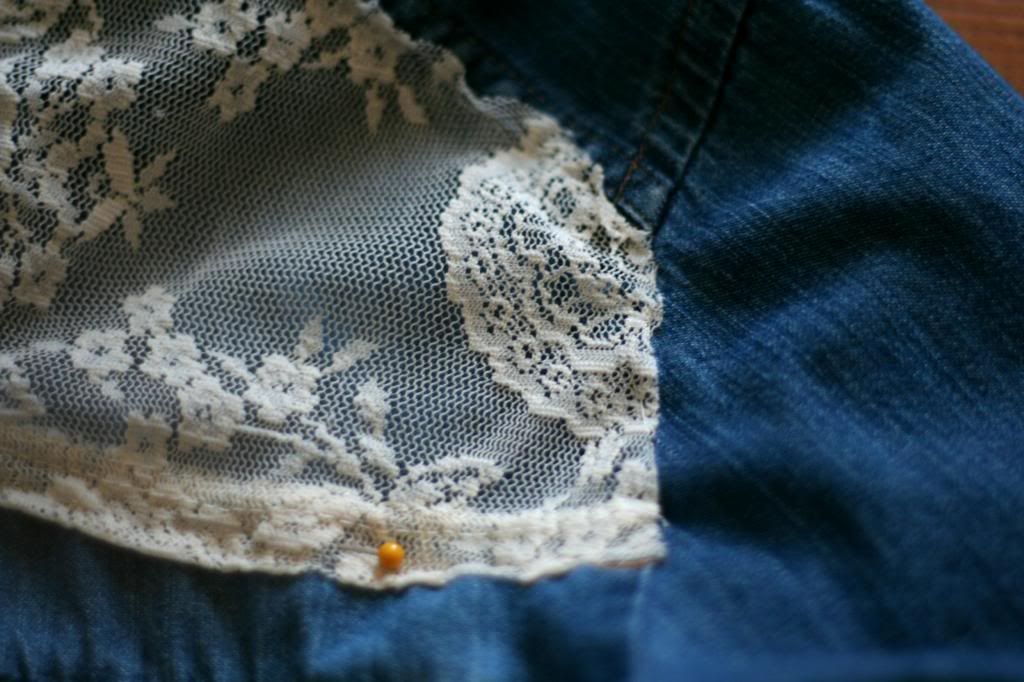
Step one: Lay the patch of lace over the part of the shirt you will be covering, and pin it into place putting the pins inside of where you will be sewing. (The hem you see in the picture is the one from the bottom of the lace shirt.)

Step two: Carefully cut around the pins, so you have the patch that you will be sewing onto the shirt. You will need to trim it enough that you can see where you need to sew, but don't cut it too small, you can always trim off excess later.

Step three: Thread your needle, tying a knot at the end, and stitch all around the lace. Use small stitches, keeping them close together, and putting them as close the the shirt's seam as you can. When done, tie off thread.

Step four: Repeat steps one through three on the other side of the shirt.

Step five: Using your scissors, carefully trim off any extra lace.

You're done!

In case you were wondering...

denim & lace top // thrifted (old navy) & refashioned, shirt // gap outlet, jeans // aeropostal, shoes // sperry's
from instagram // @imhaleyjane

2.20.2013

braided hair tutorial

This is a hairstyle I sort of made up one day when I needed my hair out of my face. Since then, I've done it several times. It's quick and easy. You can make it as messy or as neat as you like. 

I thought you all might like to try it too, so I put this little tutorial together....

left to right

1. Start with hair down. I had left-over curls from Sunday morning. I've also tried this with damp hair and it works just as well.

2. Divide your hair into two sections, putting them over your shoulders.

3. & 4. Braid both sections.

5. Pull one braid directly over, across your the back of your head.

6. Loop it back over and pin it down.

7. & 8. Repeat steps five and six with the other braid.

9. You're done!
Happy Wednesday! xo.

12.18.2012

a homemade christmas: gift idea, homemade rubber stamps

Today I am very excited to share with you this tutorial for homemade rubber stamps! I'd been wanting to try these for awhile. As it turns out, they're super simple to make. (And they would be great to give as Christmas gifts!) Here's how....
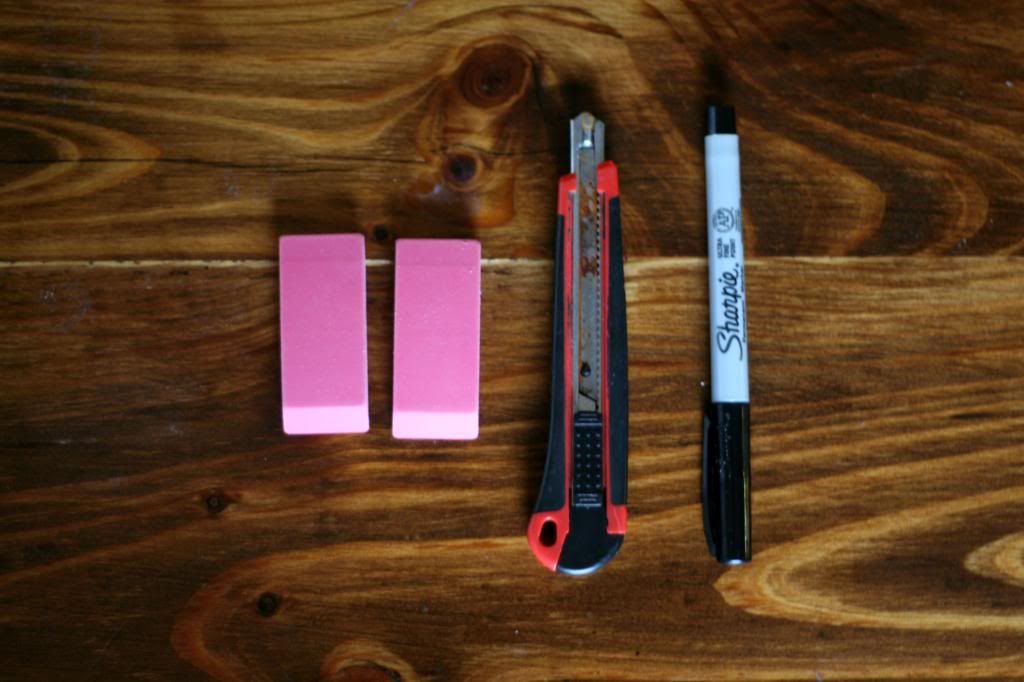
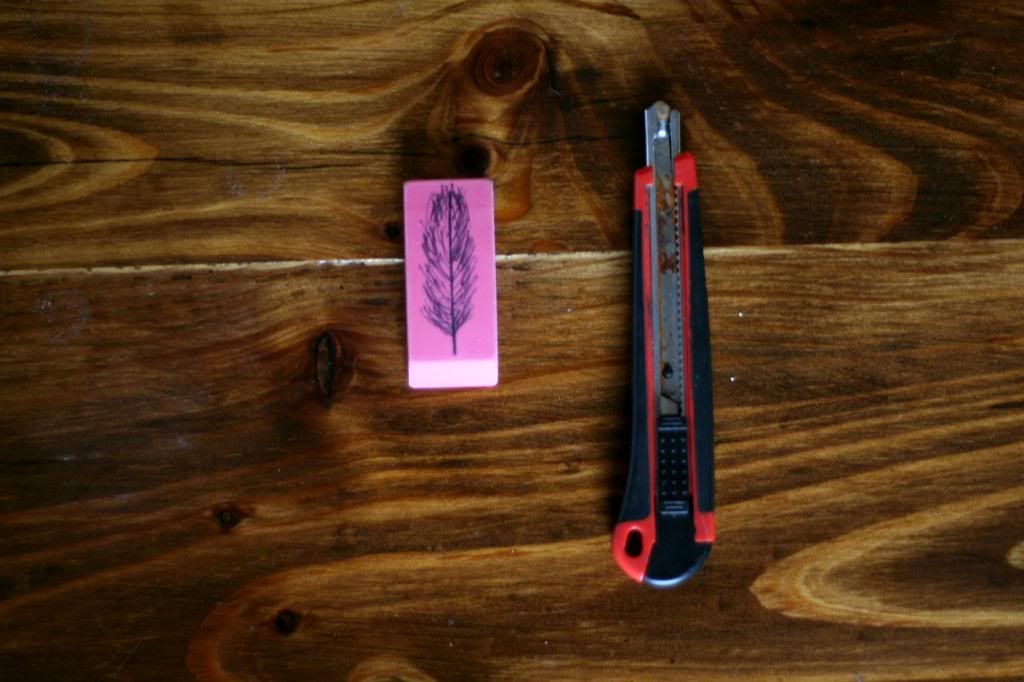
You will need:  A rubber eraser, an x-acto knife (not what I used, but what I would recommend), and a pen.
Step 1: Draw a design on the eraser (the side that doesn't have the logo on it).
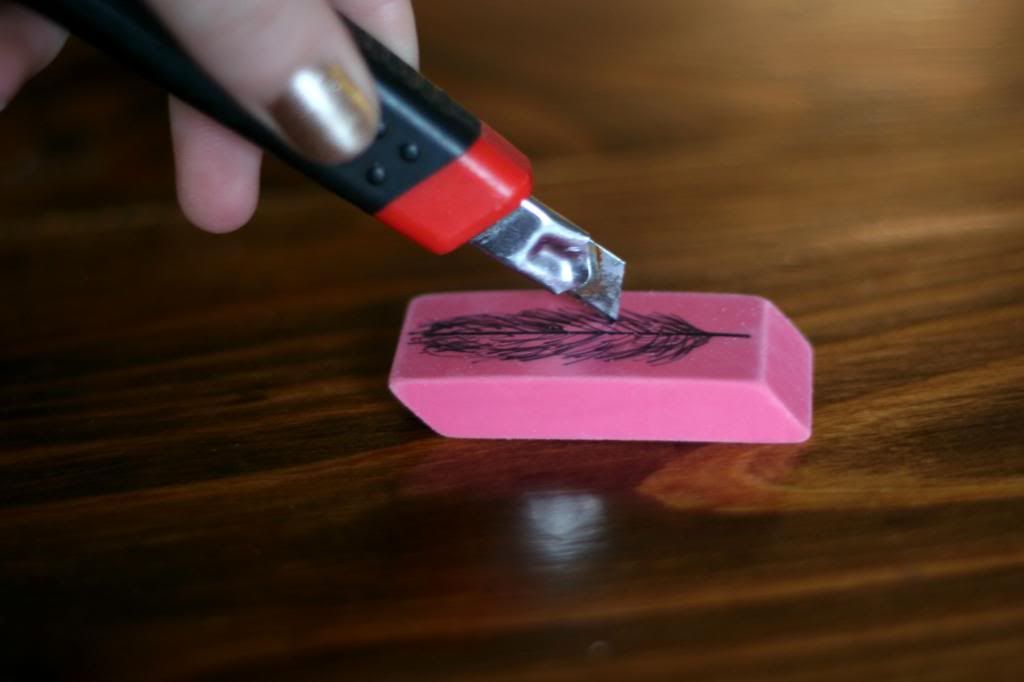
Step 2: Cut around the design, making nice, smooth cuts.
Step 3: Carve out the design so that it's raised from the rest of the eraser. I found the easiest way to do this is by going through the side of the eraser.
You're done!

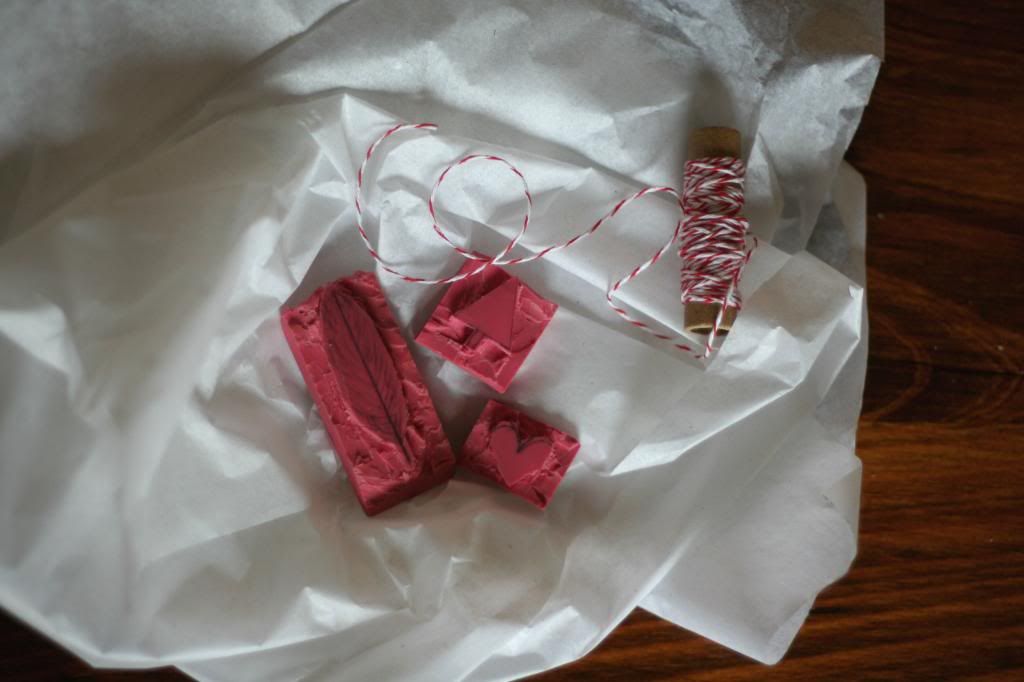
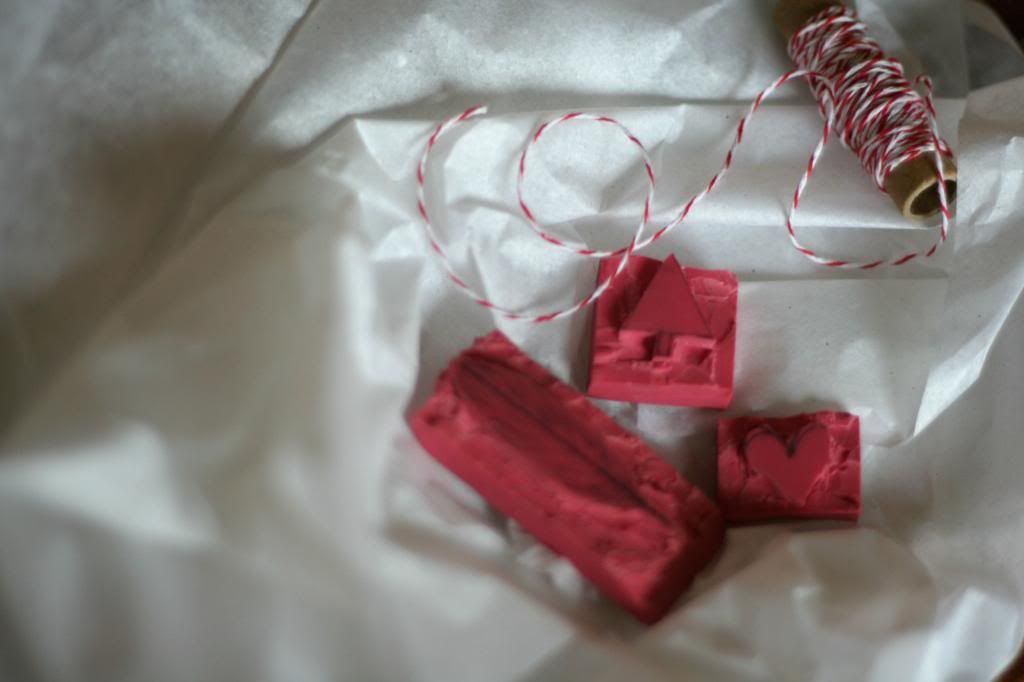
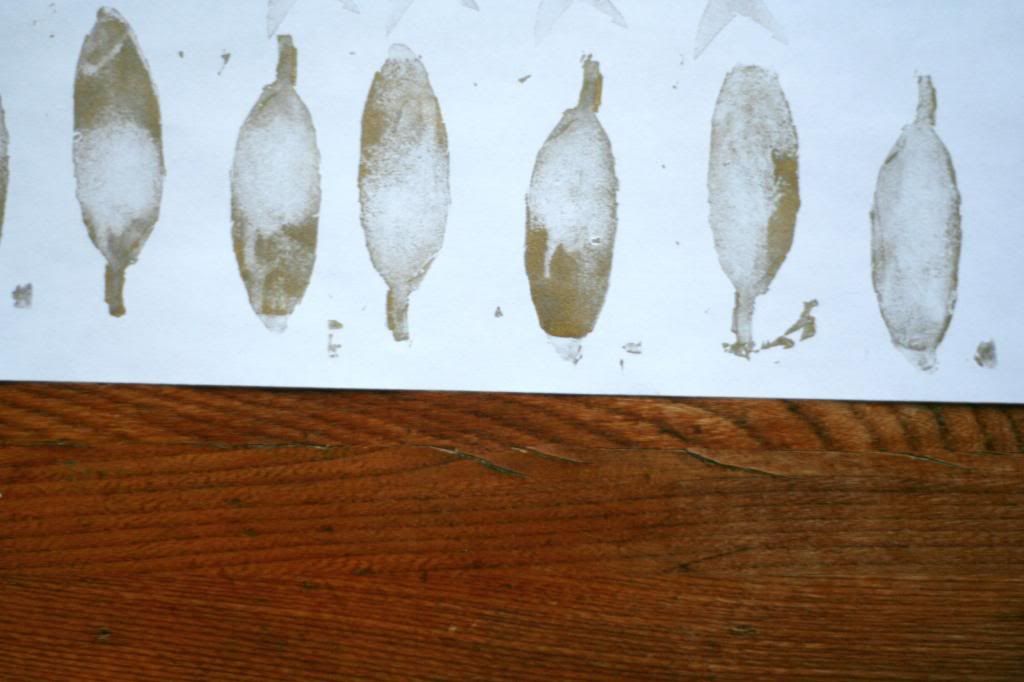
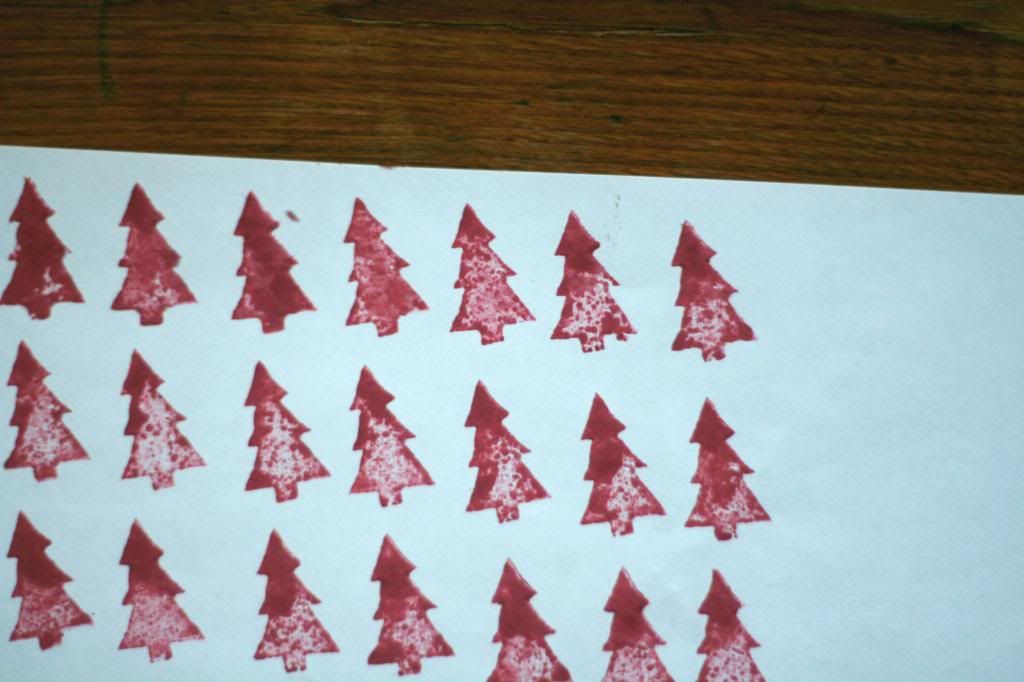
Here are some examples of what the stamps look like:
feathers
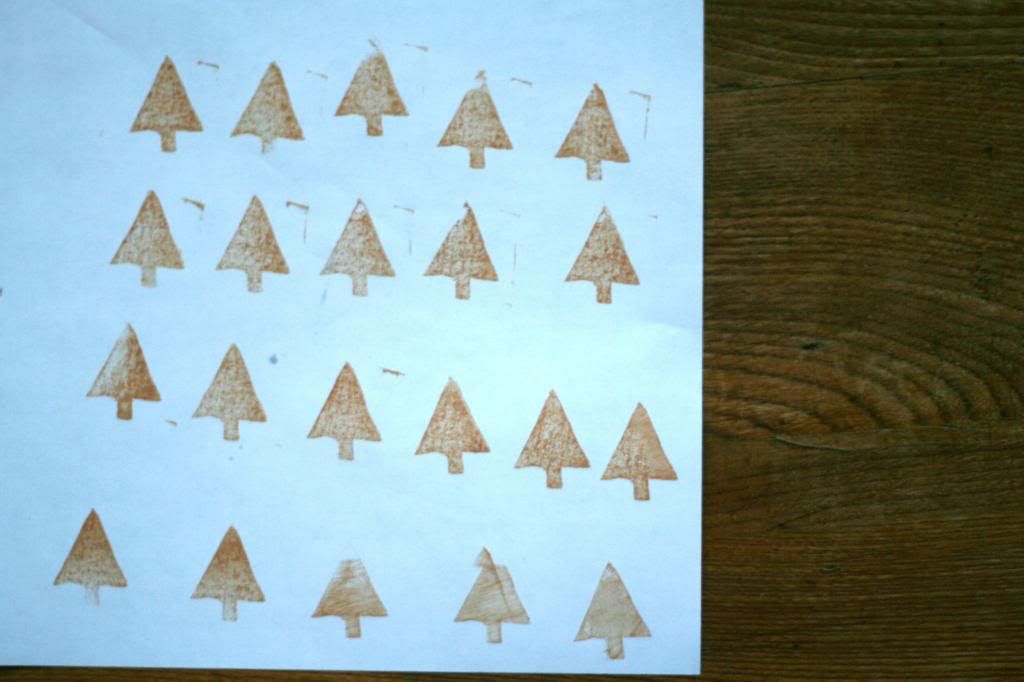
christmas trees
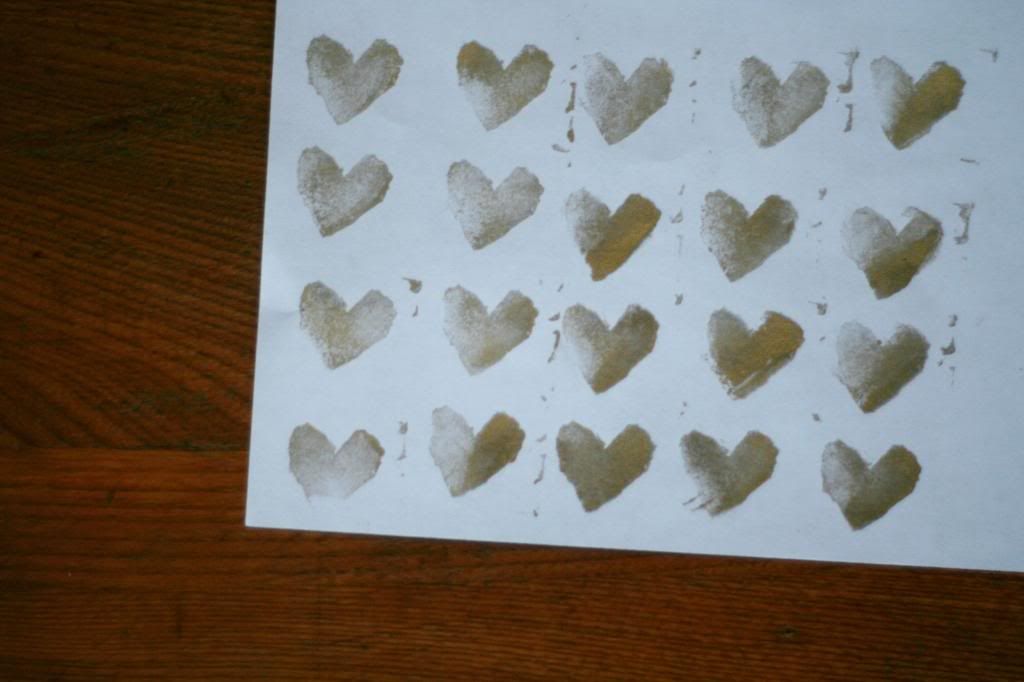
hearts


12.13.2012

a homemade christmas: gift idea, diy t-shirt pillow

I'm still working on making and buying Christmas gifts. And, just in case you are too, I put together a tutorial for you on how to make this simple little pillow (out of an old t-shirt) that be could given as a Christmas gift.
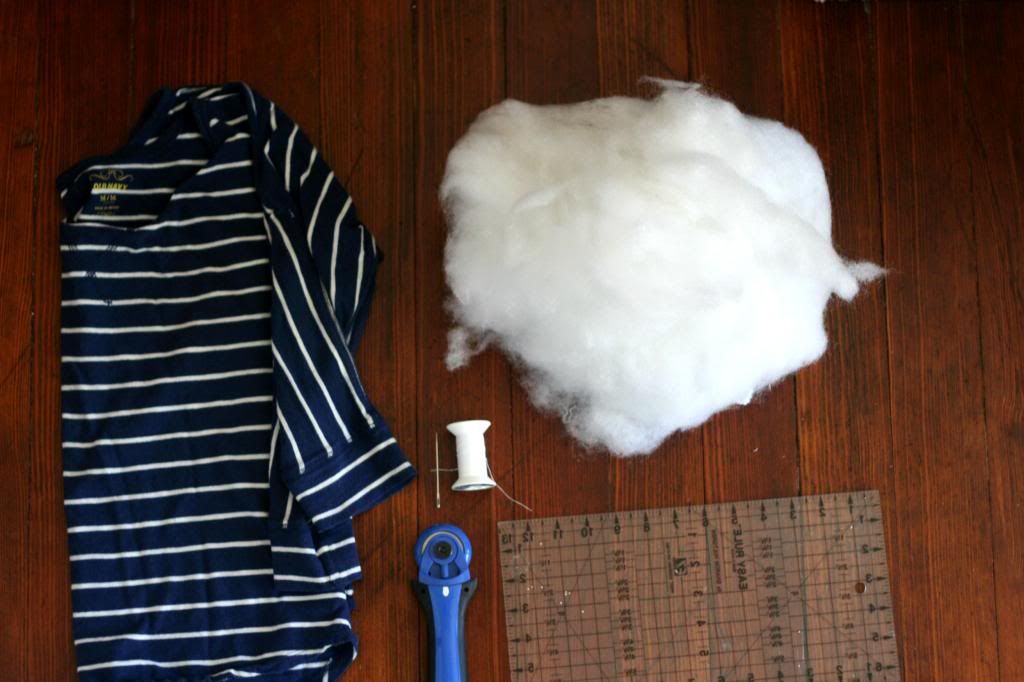
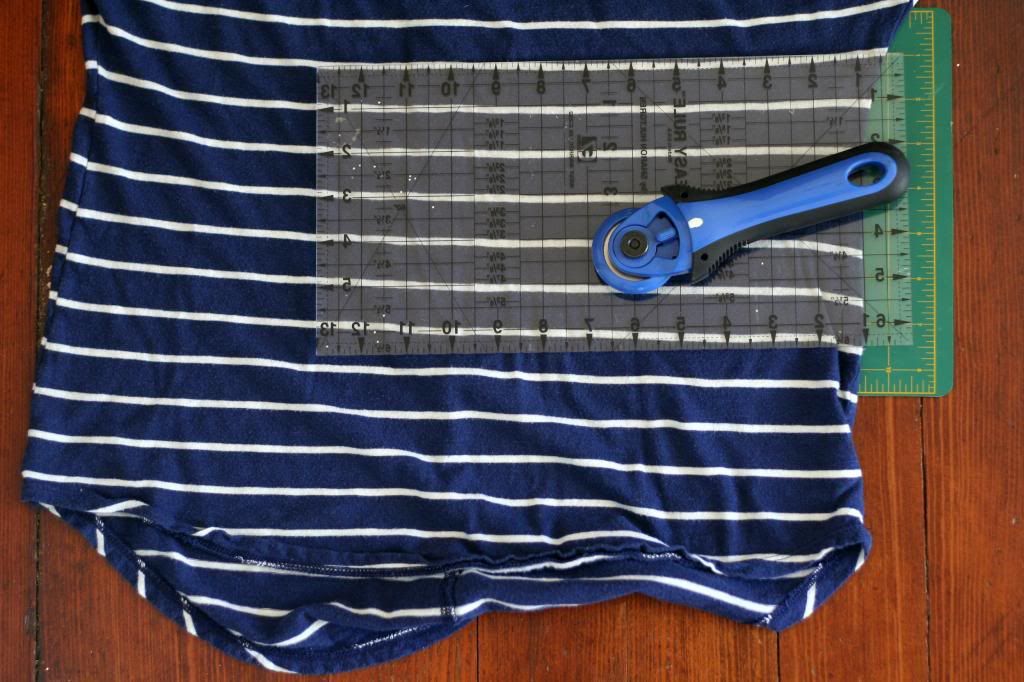
You will need: A t-shirt, stuffing, a needle, thread, a rotary cutter, a ruler, and (not pictured, but needed) straight pins, scissors, and a cutting mat.

*Note: If you don't have a rotary cutter, you could also use a pencil to trace the line and scissors to cut along it.
Step 1: Cut straight across the middle of the shirt, under the arm holes.

Step 2: Cut straight across the bottom of the shirt, cutting off the hem.
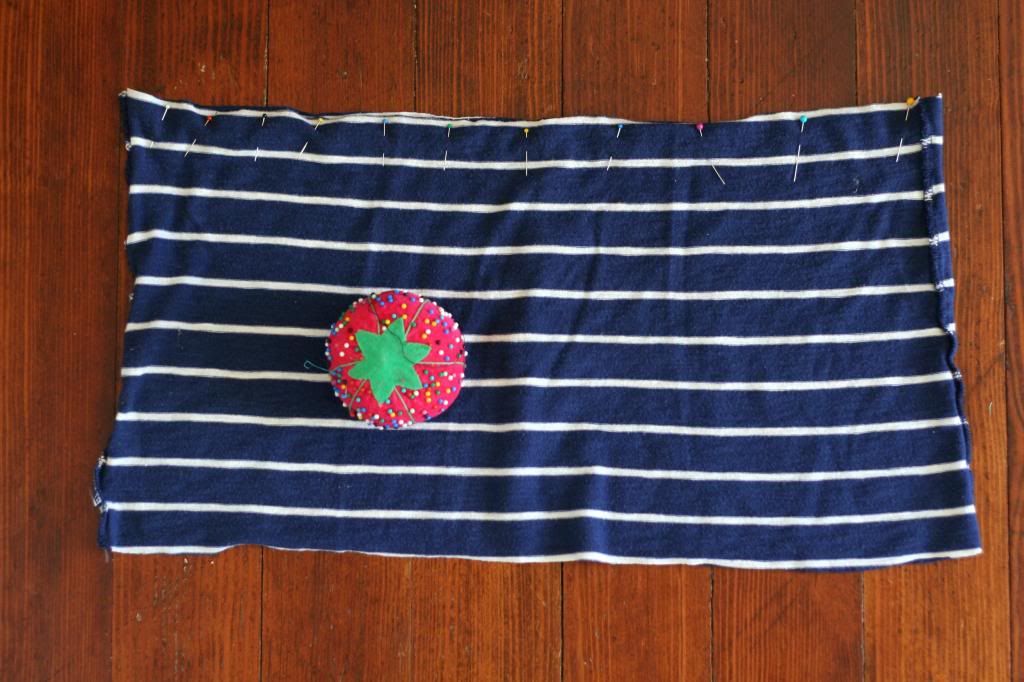
Step 3: Turn the shirt inside out.

Step 4: Using the straight pins, pin together both layers of the shirt at the top and bottom.
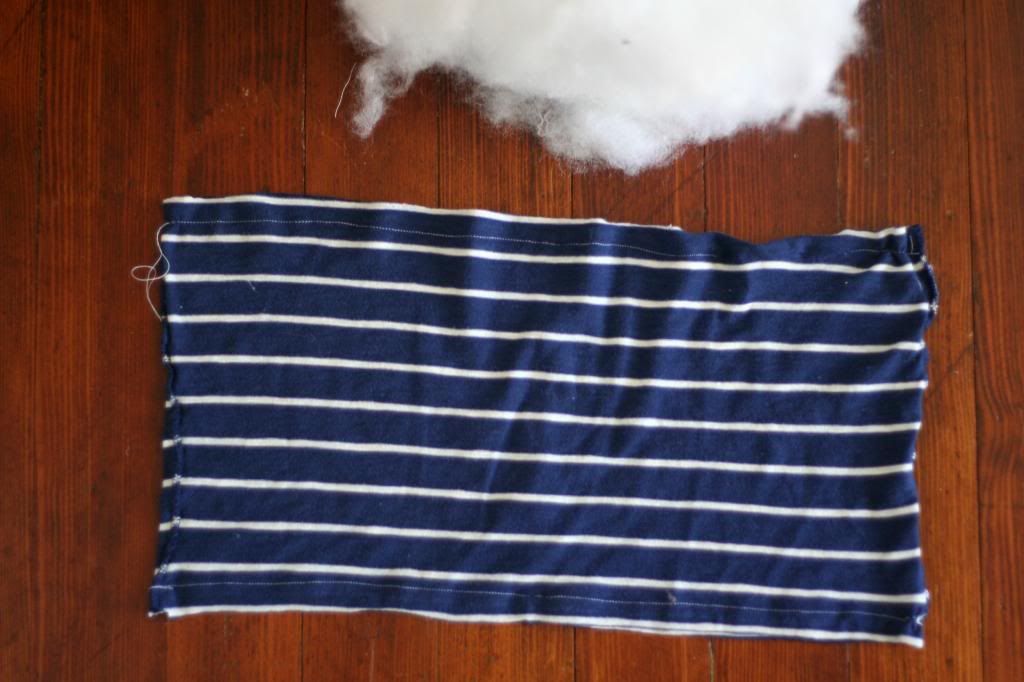
Step 5: Sew along the top and bottom of the fabric, removing pins as you go. (I used a sewing machine and a 5/8 in. seam allowance.) Make sure to leave an opening at the end. But, if you forget (like I did), simply rip out the stitches to make an opening large enough to turn the fabric right side out and put the stuffing in.

Step 6: Turn the fabric right side out.

Step 7: Put stuffing in.
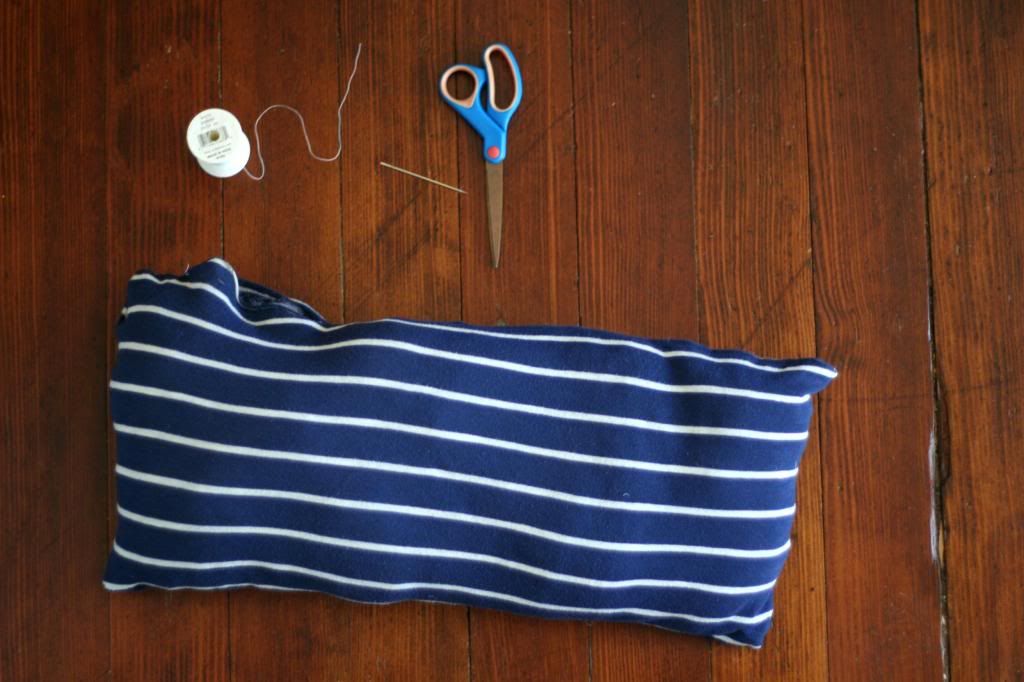
Step 8: Once pillow is stuffed, thread your needle and sew the opening shut. When finished, trim string. You're done!

12.11.2012

a homemade christmas: christmas garlands three ways

Right now I have four garlands in my room. They seem to be my favorites. So, today I'm going to show you how to make three simple festive Christmas garlands.

Pom-pom garland
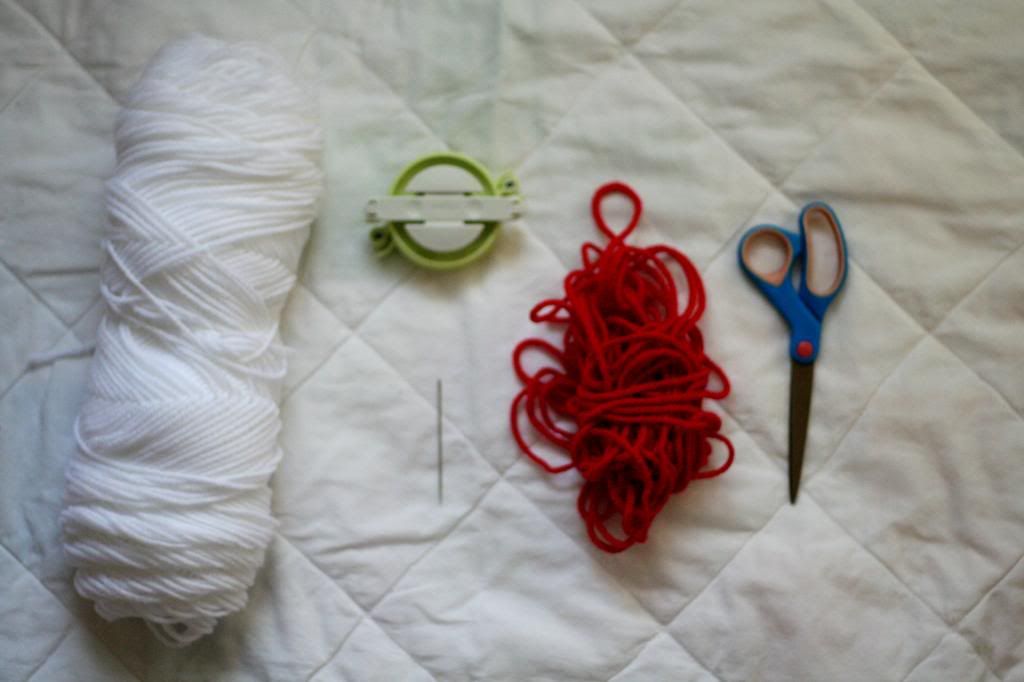
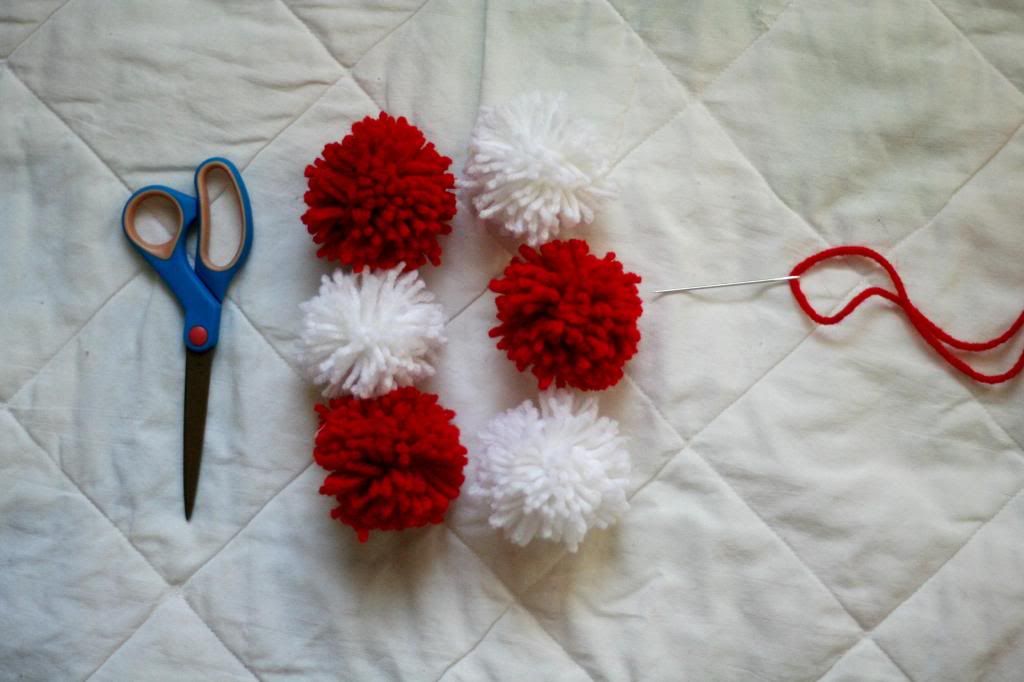
You will need:  Yarn, a pom-pom maker, needles, and scissors.
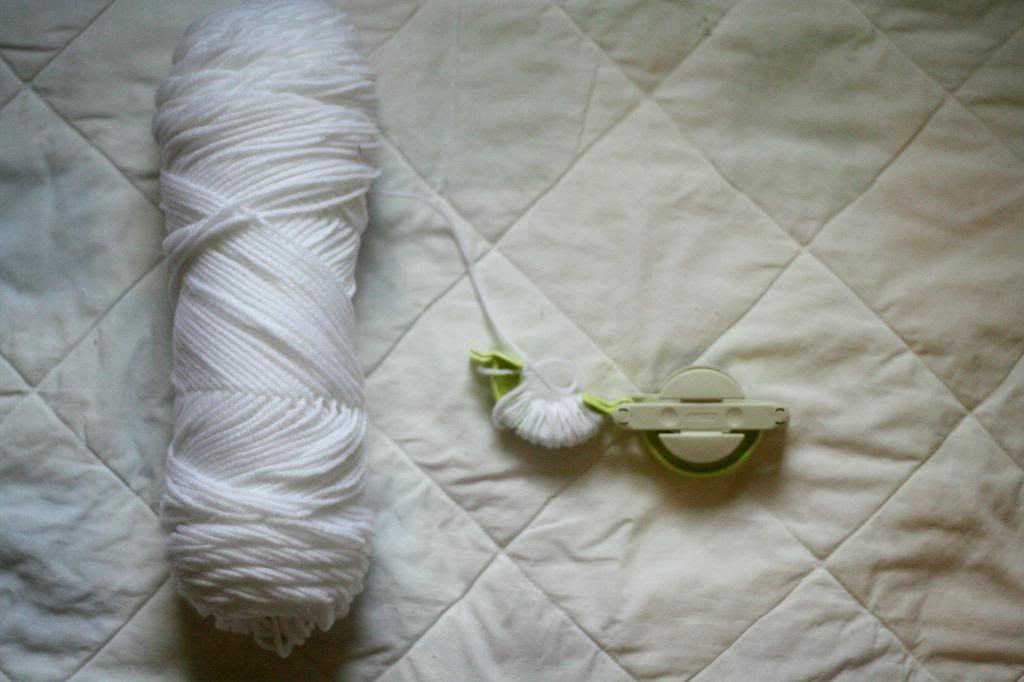
Step 1: Take both of the hooks from one side of the pom-pom maker and wrap yarn around them. The more layesr you do, the fuller the pom-pom. Put the hooks back and trim the yarn.

Step 2: Repeat step 1 on the other side.
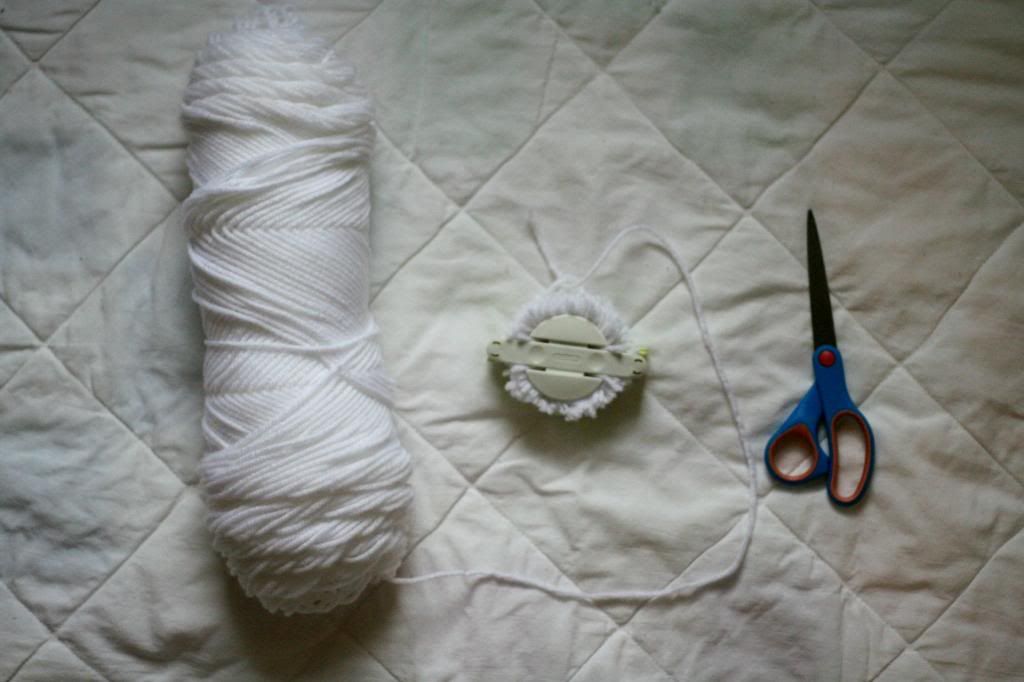
Step 3: After both sides are covered, use your scissors to cut the yarn down the middle of both sides.

Step 4: Tie a piece of yarn, very tightly, in the middle of the pom-pom maker.
Step 5: Remove the pom-pom and trim any strings that are too long.
Step 6: Thread your needle with yarn, put it under the string you tied in the middle (in step 3). String all pom-poms on to the yarn. When finished, trim yarn. You're done!

Circle paper snowflake garland
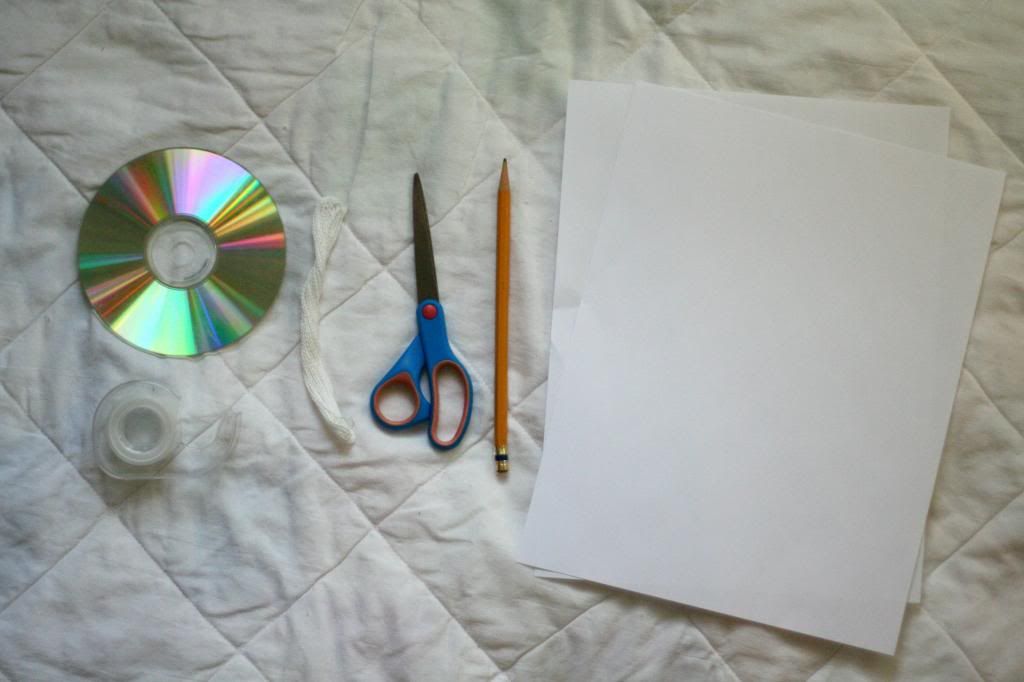
You will need: Paper, a pencil, scissors, tape, string, and something round to trace (I used a CD).
Step 1: Trace a circle onto a sheet of paper and cut it out.

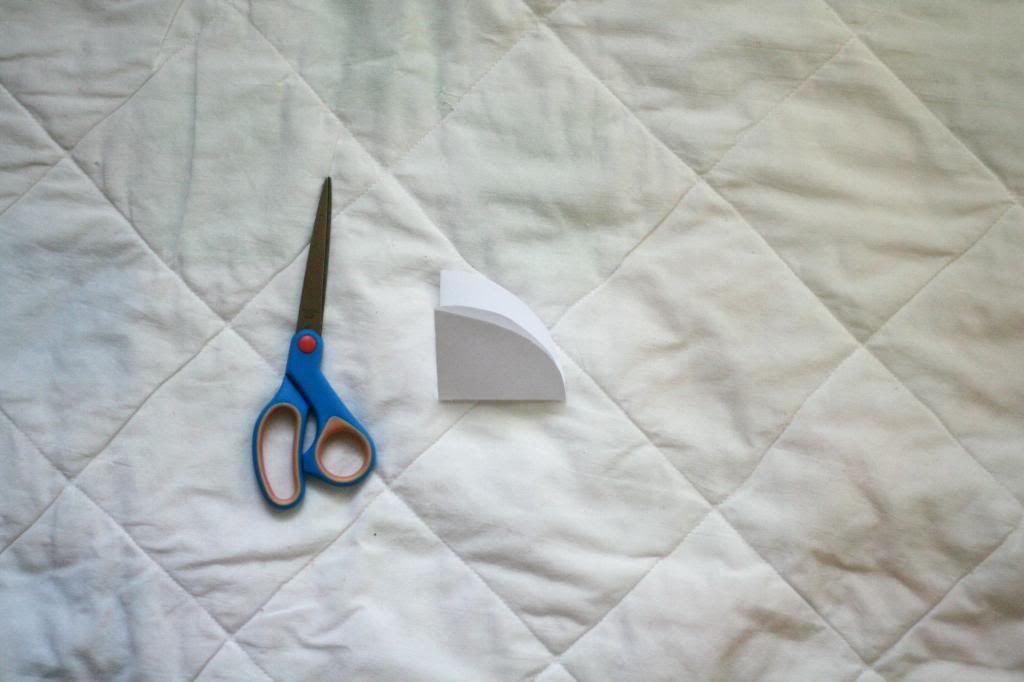
Step 2: Fold that circle in half. Then, fold that half in half.
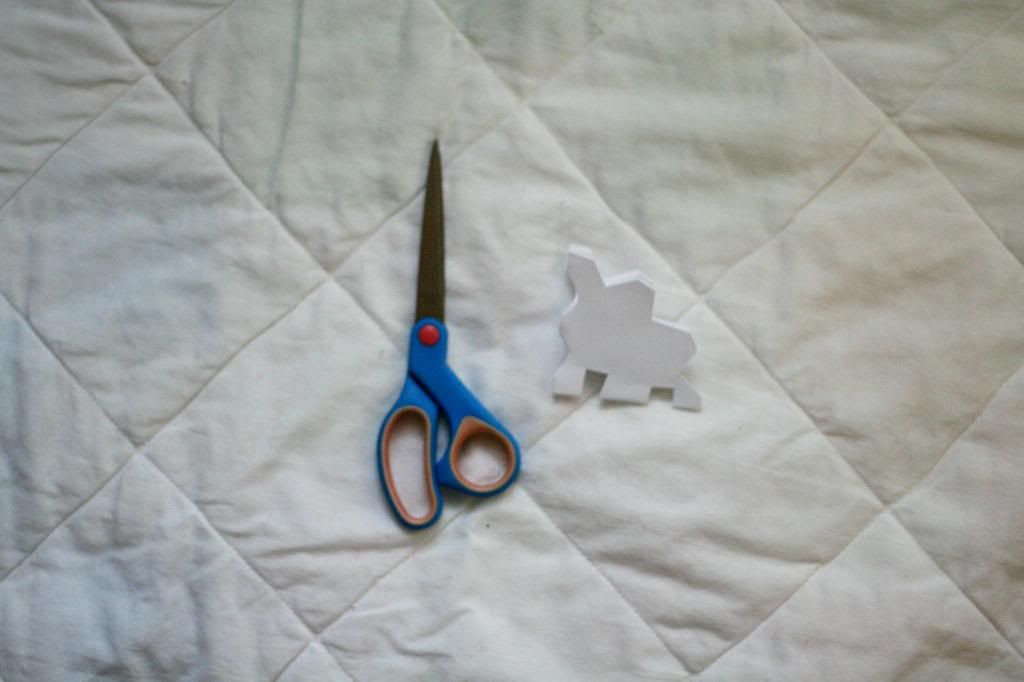
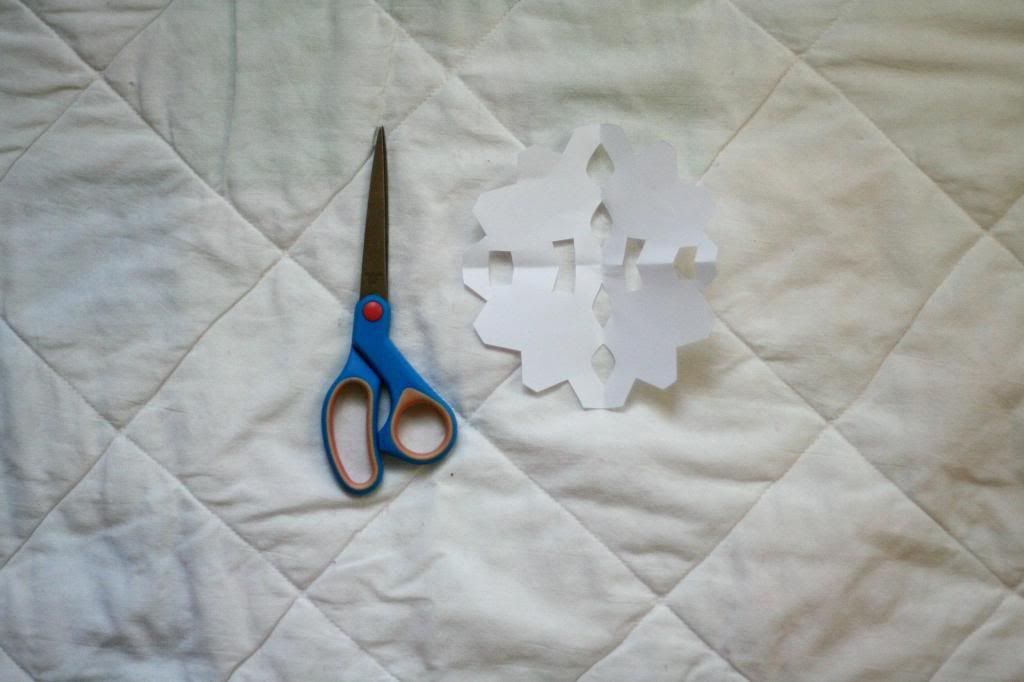
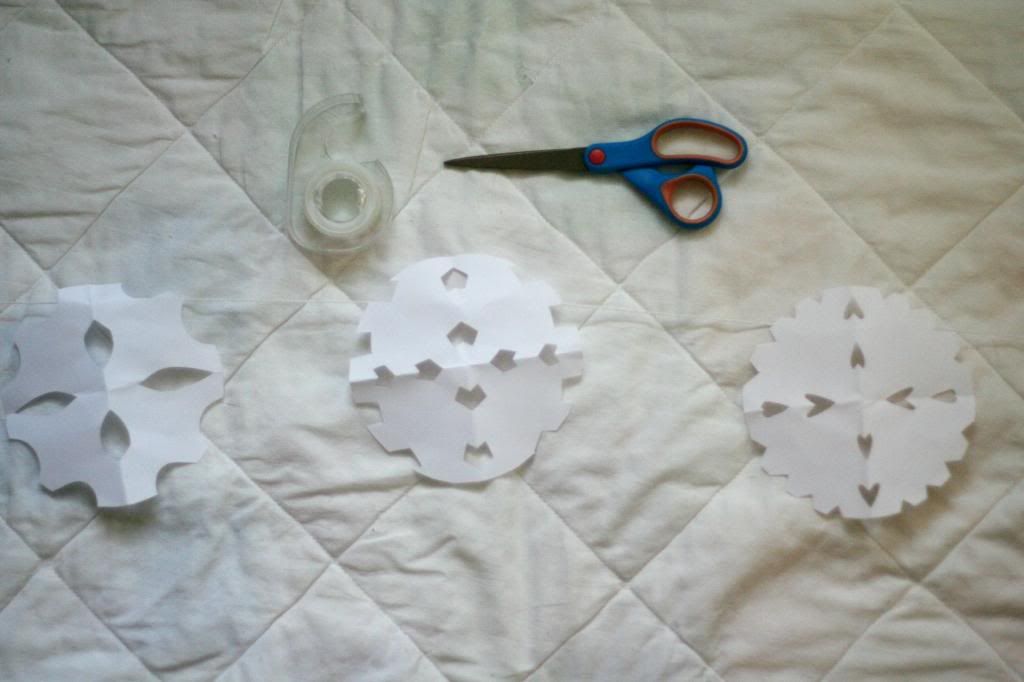
Step 3: Cut shapes around the edges of the folded circle. Be careful not to cut all of the folds.
Step 4: Unfold the snowflake. Repeat steps 1-4 until you have the desired amount of snowflakes.
Step 5: Tape snowflakes onto the string. You're done!

Pinecone garland
You will need: A hot glue gun, scissors, string, and pinecones.
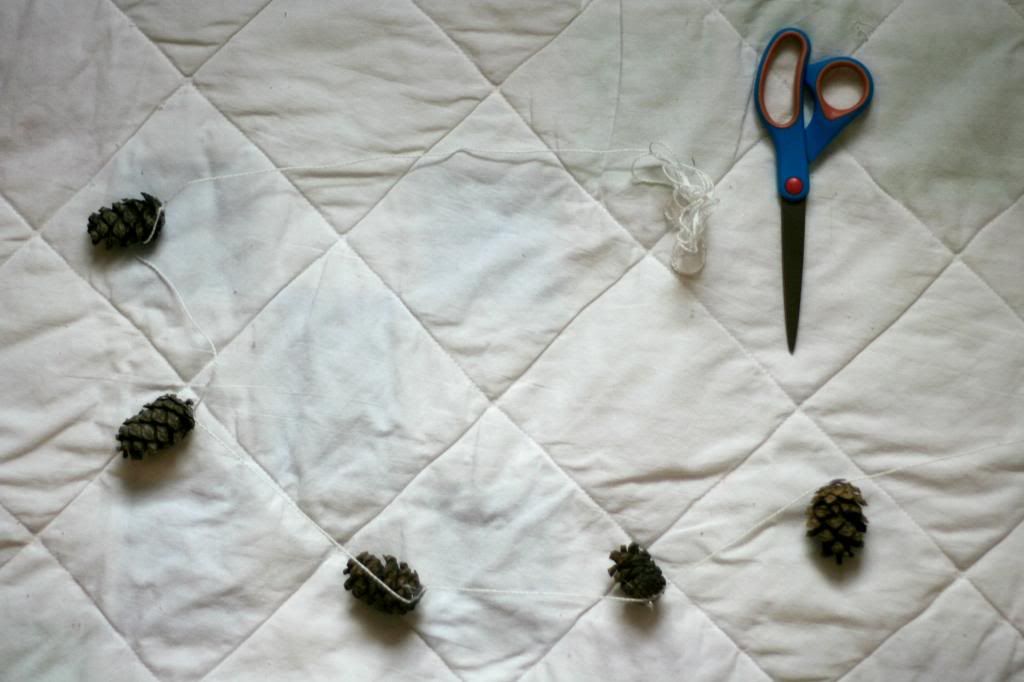
Step 1: Attach pinecones to string by putting a spot of hot glue on the top of the pinecone and gluing the string on. Hold the pinecone until the glue sets up. Continue to do this until you have the desired amount of pinecones on the garland.

Step 2: When finished, trim string. You're done!